
How It Works
1
Get Your Template
Open Campaign Creator in TheOptimizer and click the Outbrain card. Choose Bulk Upload (Excel) from the options shown.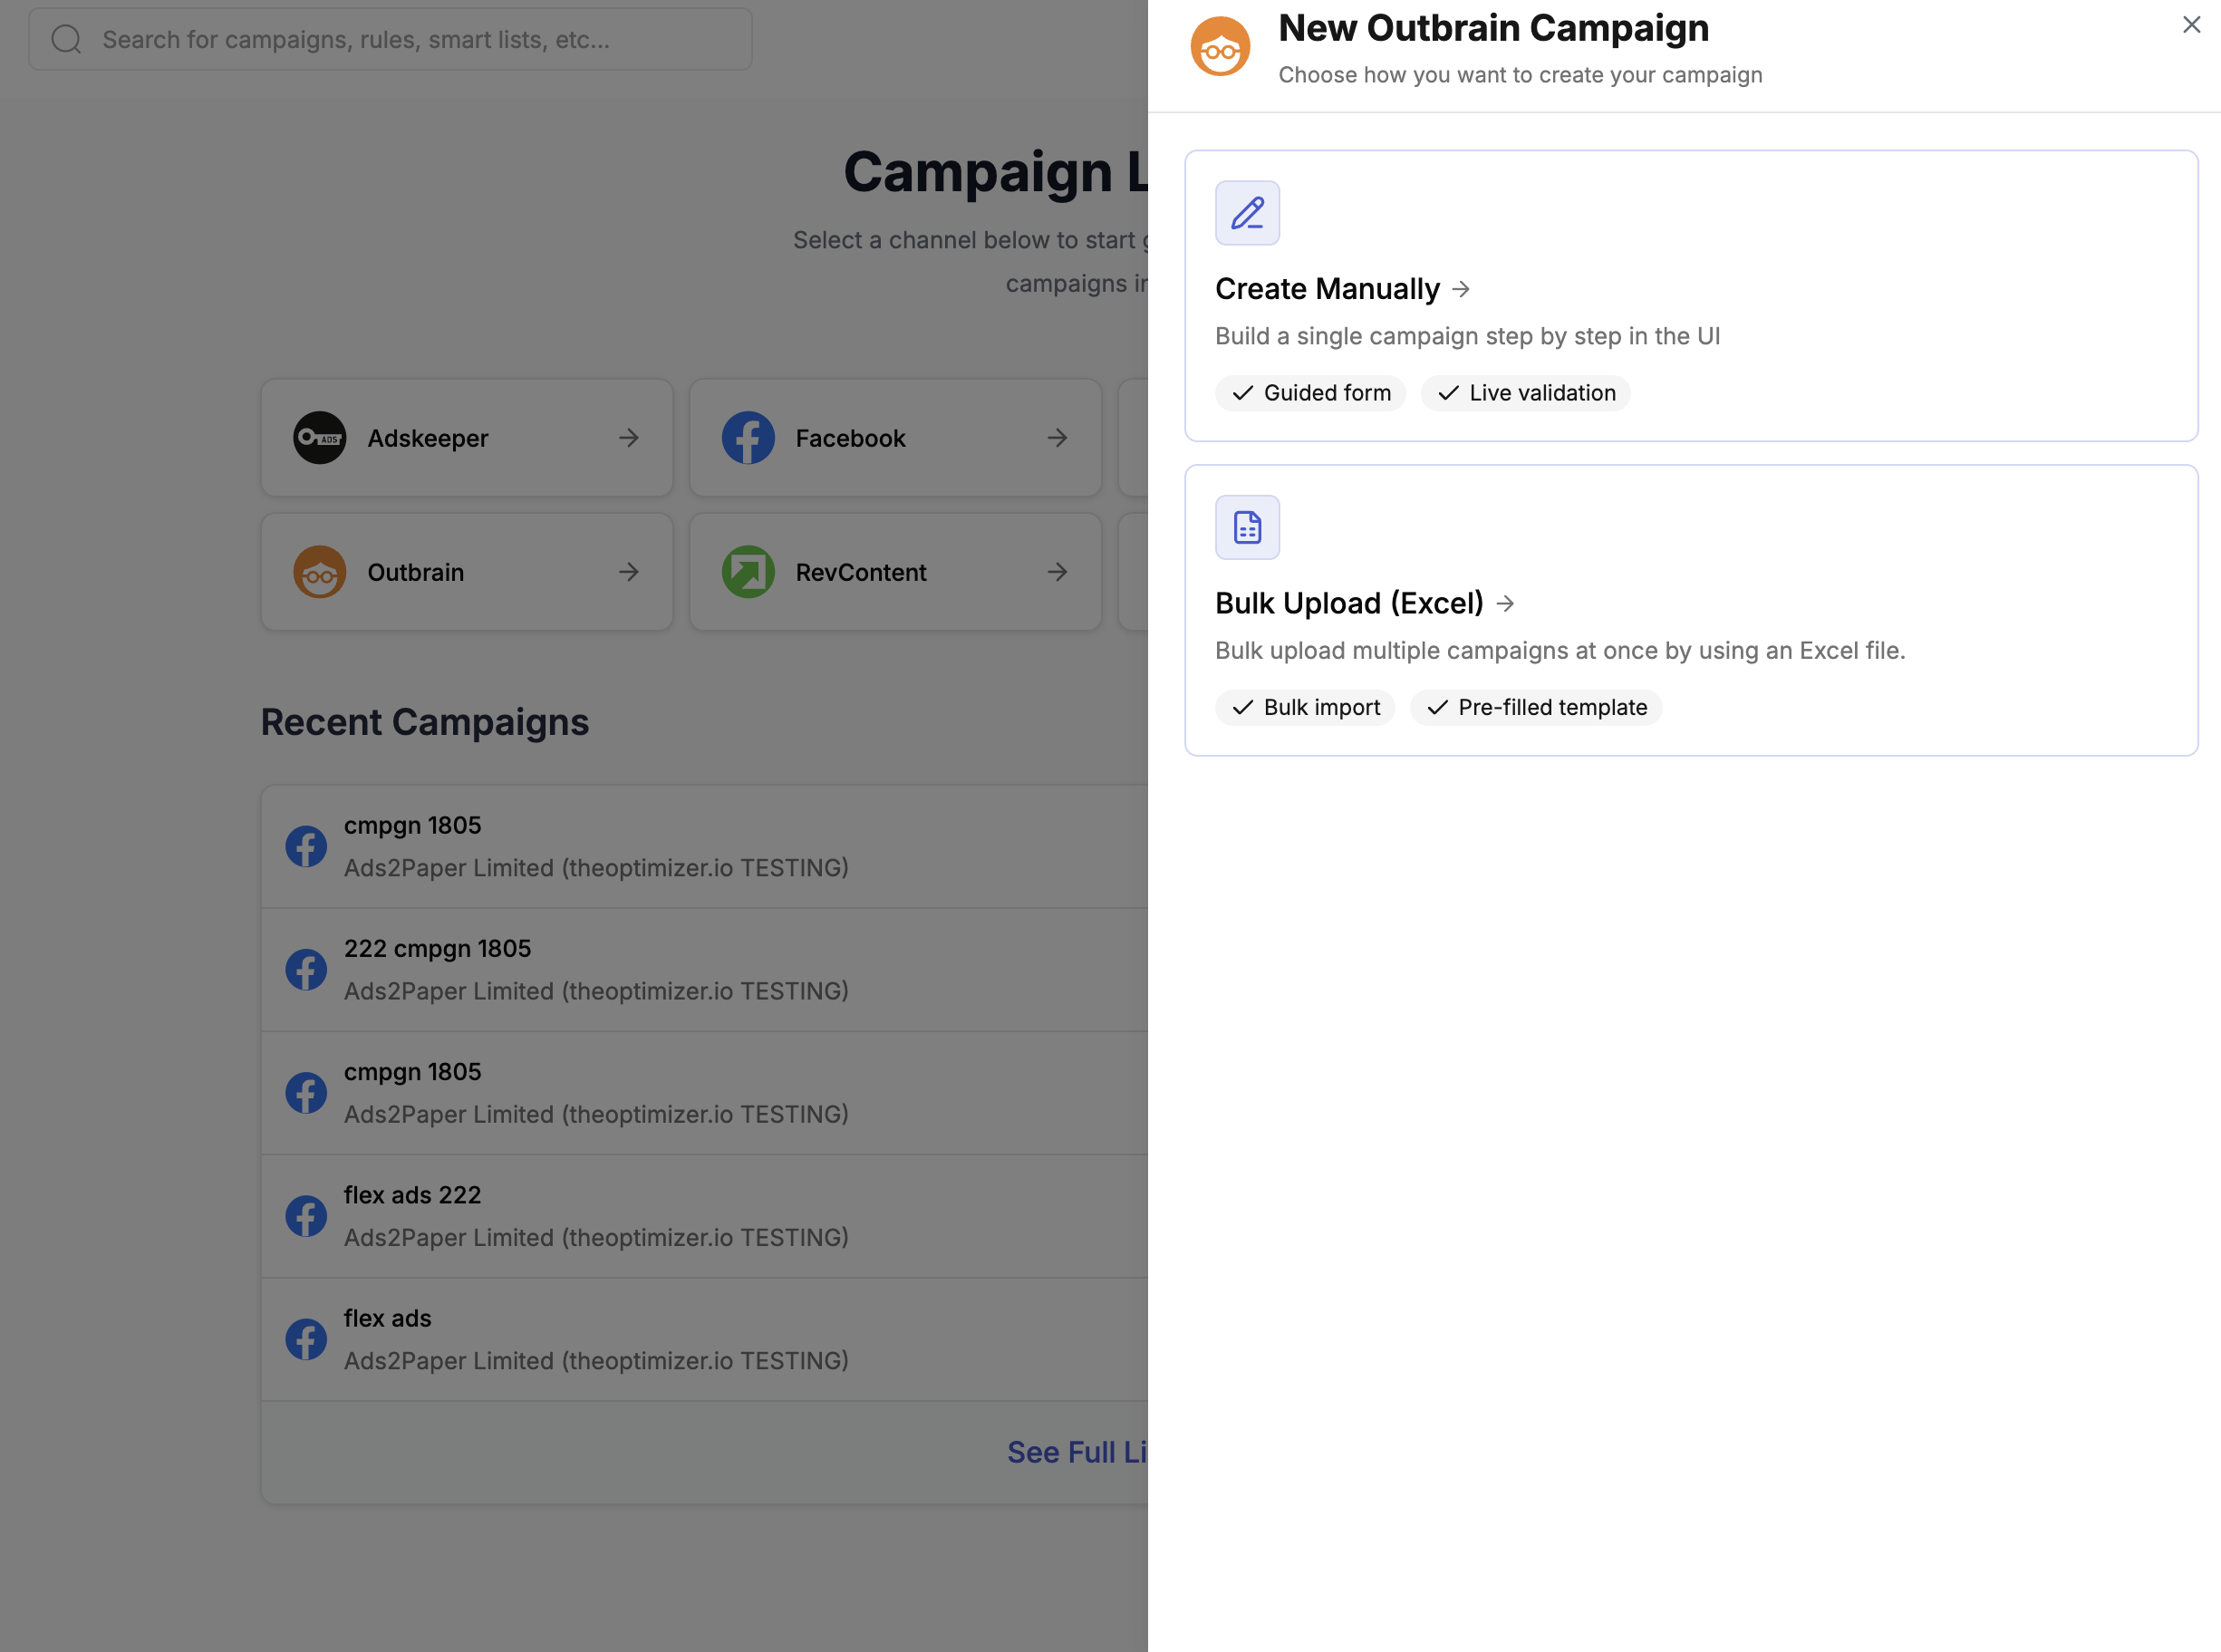
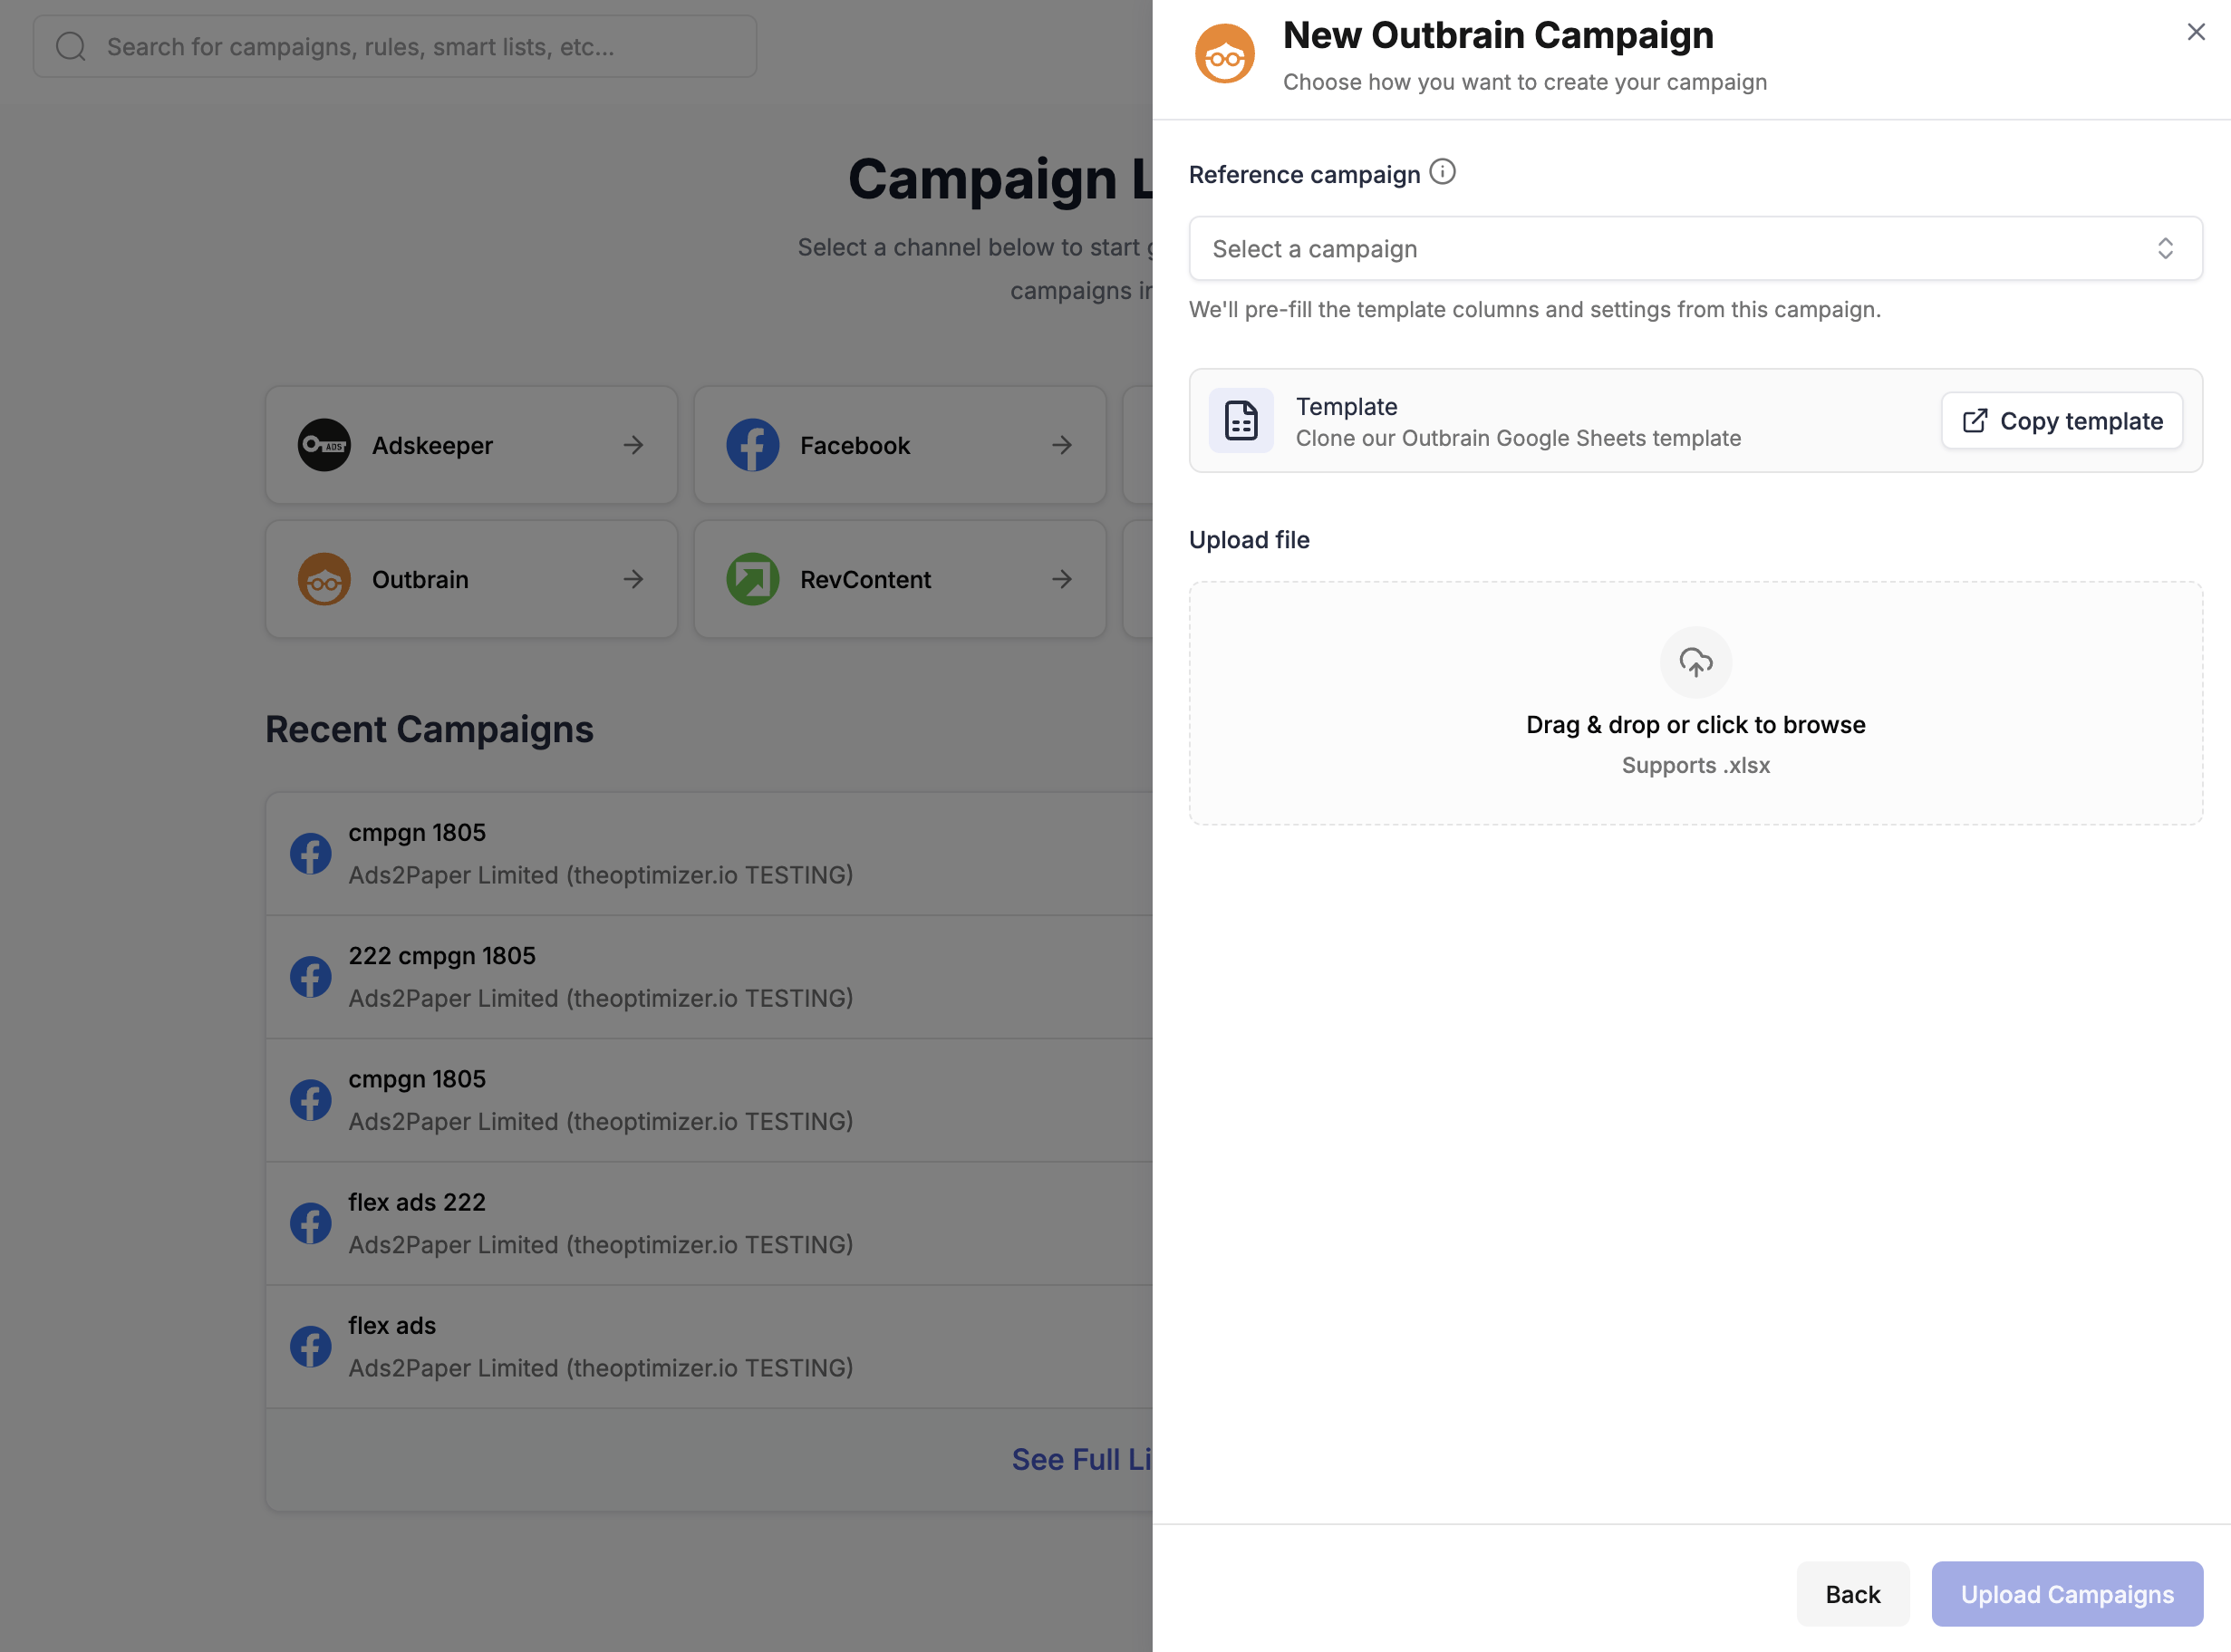
- A main sheet with one row per ad (campaign settings + creative in each row)
- Auxiliary sheets with reference data: Countries, Locations, Browsers, IAB Categories, and more
- Column notes on every column header — hover over the column name to see the accepted values and format
2
Fill in Your Campaigns
Each row in the main sheet represents one ad. To create a campaign with multiple ads, add one row per ad keeping all campaign-level columns identical, and vary only the ad-level columns (image URL, headline, CTA, etc.).Key things to note:
- Columns marked 🚩 REQUIRED must be filled in — the upload will fail if they’re missing
- Columns marked 🟡 are conditionally required (e.g. End Date is only needed if Run Forever is set to FALSE)
- Use the auxiliary sheets to look up valid values for locations, languages, IAB categories, etc.
3
Upload Your File
If you used Option B (Google Sheets template), first export your sheet: in Google Sheets, go to File → Download → Microsoft Excel (.xlsx).Back in the modal, drag and drop your .xlsx file into the upload area or click to browse for it. Then click Upload Campaigns to submit.
4
Check Your Email for Confirmation
After submitting, TheOptimizer processes the file and sends you an email:
- ✅ Successful upload — your campaigns are queued and being created on Outbrain. Track progress from the Campaign Creator page.
- ⚠️ Upload failed — the email will include a new Excel file with all error cells highlighted. Download it, fix the issues, and re-upload.